
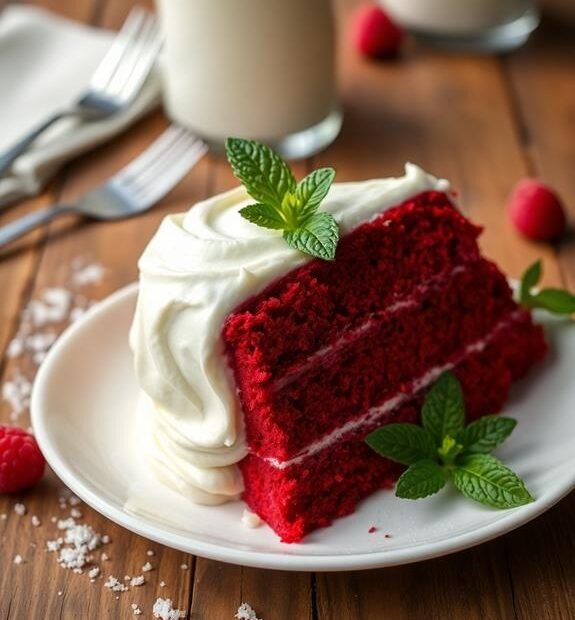
You can’t miss with a piece of moist red velvet cake adorned with rich cream cheese icing! This iconic cake first emerged in the early 1900s in the Southern USA. Ever ponder why it’s red? That’s due to a reaction between cocoa and acidic elements like buttermilk. When you bake, maintain your ingredients at room temperature for optimal outcomes. Bake it until it reaches a light and airy texture—around 25-30 minutes. Isn’t it reassuring to realize you can prepare this for any festivity? Continue to follow along, and you’ll uncover tricks and insights to elevate your cake even further! ��✨
Background
The background of red velvet cake is rich and intriguing, tracing its beginnings back to the early 20th century in the Southern United States. Initially, it began as a buttermilk chocolate cake, recognized for its moist texture and subtle cocoa notes.
Can you envision the astonishment when bakers found that a reaction between cocoa powder and acidic ingredients, such as buttermilk and vinegar, yielded a stunning red shade? This distinctive hue became even more vibrant with the subsequent inclusion of red food dye. Indeed, the allure of colorful desserts has contributed to the trend of fashionable bakeware, like the Rachael Ray bakeware collections, ideal for crafting exquisite confections like red velvet cake.
Red velvet cake truly rose to prominence in the 1920s and 1930s, particularly after being featured on the menu at the Waldorf-Astoria Hotel. This visibility helped transform it into a beloved dessert, frequently enjoyed during festivities and special events.
It remains a cornerstone in Southern cuisine, typically paired with delightful cream cheese frosting or ermine frosting.
In contemporary times, red velvet cake continues to thrive, appearing in various forms like cupcakes and cookies. Its heritage is firmly embedded in American culinary culture, wouldn’t you agree?
With its vibrant hue and deep flavor, it’s easy to see why red velvet cake remains a favorite nationwide!
Recipe
Red Velvet Cake Recipe
Red velvet cake is a timeless dessert that adds a splash of sophistication and indulgence to any occasion. This vibrant cake, celebrated for its moistness and nuanced cocoa flavor, is often complemented by a rich cream cheese icing that perfectly offsets its sweetness. To ensure a flawless baking experience for this delightful dessert, consider employing a high-quality pan like the Rachael Ray Nonstick Baking Loaf Pan with Insert for effortless lifting and reliable performance.
Whether it’s for a birthday celebration, a festive gathering, or simply a treat for yourself, this recipe will lead you through crafting an impressive red velvet cake that’s bound to leave a lasting impression.
To achieve the signature color and flavor, you’ll require a few essential ingredients that work together in harmony. The mixture of buttermilk and vinegar adds to the cake’s tenderness, while cocoa powder introduces a touch of chocolate richness. This recipe is uncomplicated, making it suitable for both beginners and experienced bakers.
Let’s dive into the ingredients and preparation method for this exquisite dessert!
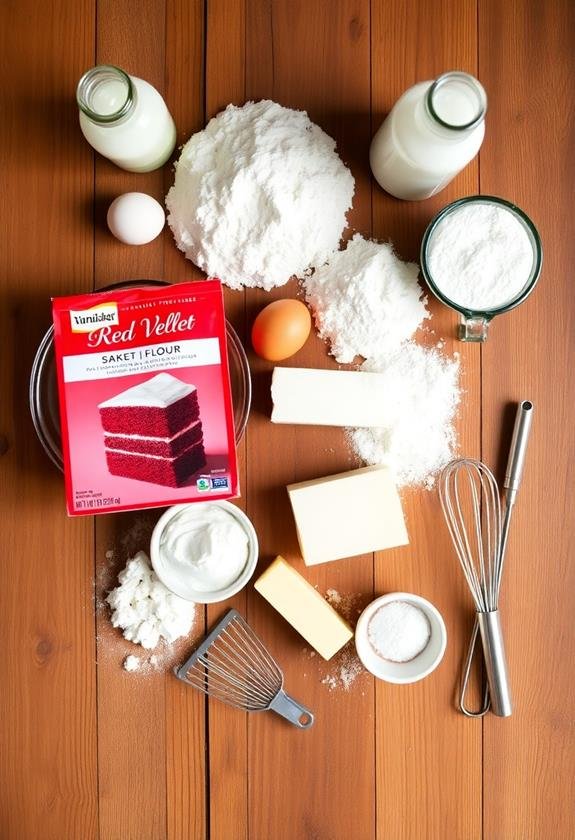
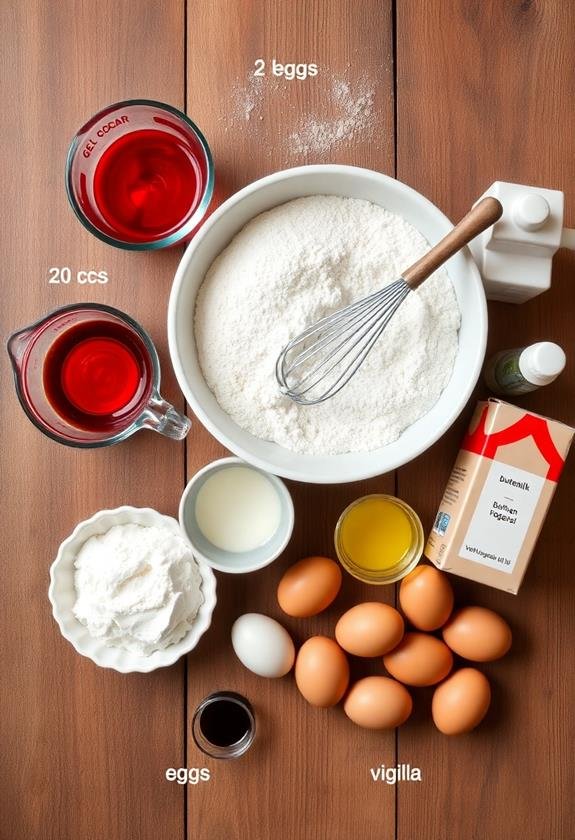
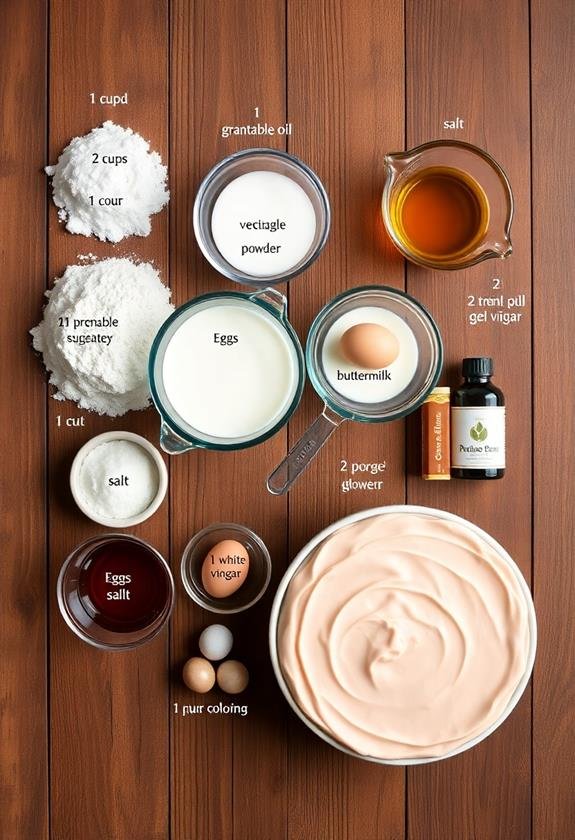
Ingredients:
- 2 ½ cups all-purpose flour
- 1 ½ cups granulated sugar
- 1 teaspoon baking powder
- 1 teaspoon baking soda
- 1 teaspoon salt
- 1 cup vegetable oil
- 1 cup buttermilk, at room temperature
- 2 large eggs, at room temperature
- 2 tablespoons cocoa powder
- 1 tablespoon white vinegar
- 1 tablespoon gel food coloring (red)
- 1 teaspoon vanilla extract
Instructions:
Preheat your oven to 325°F (163°C). Grease and flour three 8-inch round cake pans.
In a large mixing bowl, cream the butter and sugar together for 2-3 minutes until they’re light and fluffy. Gradually incorporate the eggs, mixing well after each addition.
In another bowl, combine the dry ingredients: flour, baking powder, baking soda, salt, and cocoa powder.
In a separate bowl, mix the wet ingredients: buttermilk, vegetable oil, vinegar, food coloring, and vanilla extract.
Alternately add the dry mixture and wet mixture to the creamed butter and sugar, beginning and concluding with the dry ingredients. Stir just until combined to prevent overmixing.
Evenly distribute the batter among the prepared pans and bake for 25-30 minutes, or until a toothpick inserted in the center comes out clean. Let the cakes cool in the pans for 10 minutes before transferring them to a wire rack to cool completely.
Extra Tips:
For optimal results, ensure all your ingredients are at room temperature before you start mixing. This aids in creating a smoother batter and a more uniformly baked cake.
When icing the cake, consider chilling the layers in the refrigerator for about 30 minutes after baking; this can make them easier to manage and frost.
If you want to add a touch of elegance, feel free to embellish the top with fresh berries or chocolate shavings for an extra touch of luxury!
Final Thoughts
Baking a red velvet cake can be a fulfilling venture, especially when you witness the vibrant layers come together. This moist red velvet cake, with its distinctive mix of cocoa powder and buttermilk, delivers a subtly tangy flavor you’ll remember.
Have you ever been curious how that stunning vibrant red color comes to be? Traditionally, it arises from the acidic ingredients, but many choose to use food coloring nowadays for an added visual pop!
For those striving to enhance their well-being, integrating fresh juices into your diet can complement your baking pursuits and supply vital nutrients top juicer models.
Pairing it with cream cheese icing is essential; it provides that creamy contrast that beautifully complements the cake’s unique flavor profile.
To attain the best outcomes, effective baking practices are crucial. For example, separating egg whites from yolks can yield a fluffier cake, and baking at the right temperature helps to prevent it from drying out.